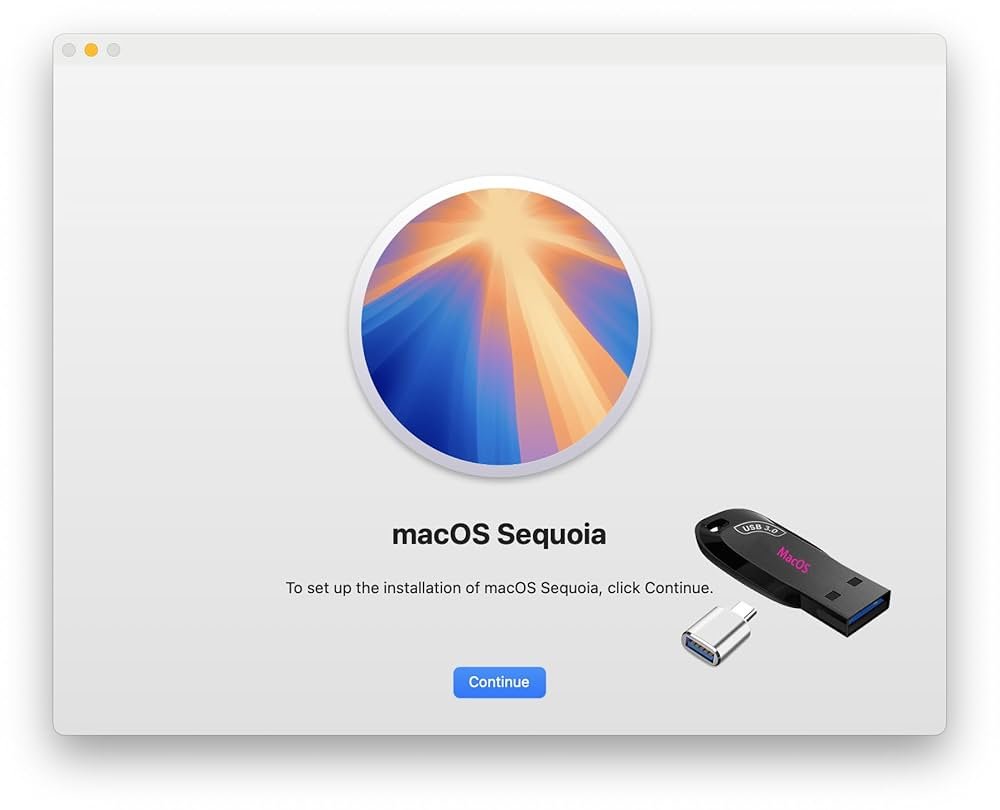
Creating a bootable USB drive is important for installing or repairing operating systems like Windows or macOS. This guide provides step-by-step instructions for both platforms, ensuring you can create a reliable bootable USB drive with minimal hassle.
For Windows

Requirements
- A USB drive (at least 8GB, 16GB recommended).
- A Windows ISO file (download from Microsoft’s official website).
- A tool like Rufus or Create Installation media for Windows.
- A computer running Windows.
Steps
- Prepare the USB Drive: Insert the USB drive into your computer. Ensure it’s empty, as formatting will erase all data.
- Download Rufus: Visit the official Rufus website and download the latest version. It’s free, portable, and widely used.
- Run Rufus: Open Rufus (no installation required). Select your USB drive from the “Device” dropdown.
- Load the ISO: Click “Select” under “Boot selection” and choose your Windows ISO file.
- Configure Settings: Choose “MBR” for older systems or “GPT” for newer UEFI-based systems under “Partition scheme.” Select “FAT32” for the file system to ensure compatibility.
- Start the Process: Click “Start.” Rufus will format the USB and copy the ISO files, making it bootable. This may take a few minutes.
- Finalize: Once complete, safely eject the USB. It’s now ready to install Windows or troubleshoot issues.
Also Read: How to Transfer All Images from Google Photos to iCloud Photos
For Mac

Requirements
- A USB drive (at least 16GB).
- A macOS installer (download from the Mac App Store).
- A Mac computer with admin access.
Steps
- Download macOS Installer: Open the Mac App Store, search for the desired macOS version (e.g., Sequoia or Sonoma), and download it. The installer will appear in the Applications folder.
- Prepare the USB Drive: Insert the USB drive. Open “Disk Utility” (search via Spotlight), select the USB, and click “Erase.” Name it (e.g., “MyUSB”), choose “APFS” format, and “GUID Partition Map” scheme. Click “Erase” to format.
Create Bootable USB: Open “Terminal” (via Spotlight). Use the createinstallmedia command. For example, for macOS Sonoma, type:
sudo /Applications/Install\ macOS\ Sonoma.app/Contents/Resources/createinstallmedia –volume /Volumes/MyUSB
- Replace “Ventura” and “MyUSB” with your macOS version and USB name. Press Enter, input your admin password, and confirm by typing “Y” when prompted.
- Wait for Completion: The process takes 10-20 minutes. Terminal will notify you when the USB is ready.
- Eject USB: Safely eject the USB via Finder. It’s now bootable for installing or repairing macOS.
Tips
- Always back up USB data before formatting.
- For Windows, ensure the ISO matches your system’s architecture (64-bit or 32-bit).
- For Mac, verify compatibility between the macOS version and your hardware.
- Test the USB by booting from it (restart your computer and select the USB via BIOS/boot menu).


1 Comment
Pingback: How to Delete Your Data Permanently Before Selling a Device